**Let’s be real here, folks—building your own router firewall using a Raspberry Pi isn’t just about saving money. It’s about taking control of your network, boosting security, and geeking out over some serious tech wizardry. Whether you're a tech enthusiast or someone who wants to protect their digital life from prying eyes, this setup is your golden ticket. In this tutorial, we'll break down how to transform a humble Raspberry Pi into a powerhouse router firewall that’ll make your network safer than Fort Knox. So grab your coffee, and let’s dive in.**
When you hear "Raspberry Pi as router firewall," it might sound intimidating, but trust me, it’s not as complicated as it seems. Sure, there are plenty of pre-built routers out there, but none of them offer the level of customization and control that a DIY Raspberry Pi setup provides. Plus, who doesn’t love the satisfaction of building something from scratch?
Before we get our hands dirty, let’s talk about why you’d even consider this project. With cyber threats on the rise, having a robust firewall is more important than ever. A Raspberry Pi firewall gives you the ability to monitor and control every single bit of data flowing through your network. And hey, it’s way cheaper than buying a high-end router with similar capabilities. Win-win, right?
- Why Filmyfly Best Movies Is Your Ultimate Streaming Destination
- Exploring The World Of Maza49buzz Your Ultimate Guide
Table of Contents
- Introduction to Raspberry Pi as Router Firewall
- Benefits of Using Raspberry Pi as a Router Firewall
- Hardware Requirements
- Software Setup and Installation
- Configuring Your Network
- Setting Up the Firewall
- Enhancing Security with DNS
- Adding Wireless Connectivity
- Monitoring and Maintenance
- Troubleshooting Common Issues
- Conclusion
Introduction to Raspberry Pi as Router Firewall
Alright, so you’re probably wondering how a tiny little computer like the Raspberry Pi can handle the heavy lifting of routing and firewall duties. Well, buckle up, because it’s about to blow your mind. A Raspberry Pi is a mini-computer that packs a surprising punch when it comes to networking tasks. By installing the right software and configuring it properly, you can turn it into a fully functional router firewall that rivals even the most expensive commercial options.
Here’s the thing—most people don’t realize just how versatile the Raspberry Pi is. It’s not just for coding projects or home automation; it can also serve as the backbone of your home network. With the right setup, you can block malicious traffic, filter unwanted websites, and even create a guest network for visitors. Sounds pretty sweet, doesn’t it?
Why Raspberry Pi?
Let’s be honest, commercial routers are great, but they come with limitations. You’re stuck with the firmware they provide, and upgrading features often means buying a whole new device. On the other hand, a Raspberry Pi lets you tweak and customize everything to your heart’s content. Plus, it’s super affordable, making it the perfect choice for budget-conscious techies.
- Hdhub4u Your Ultimate Destination For Entertainment And Beyond.htm
- Unveiling The Secrets Of Vegamovies Me Your Ultimate Movie Streaming Destination
Benefits of Using Raspberry Pi as a Router Firewall
Now that we’ve established what a Raspberry Pi router firewall is, let’s talk about why you should care. Here are some of the top benefits of using this setup:
- Cost-Effective: A Raspberry Pi costs a fraction of what a high-end router does, and you can use it for multiple projects once you’re done.
- Customizable: Want to add custom rules or scripts? No problem. The Raspberry Pi gives you full control over your network settings.
- Open Source: With open-source software like Pi-hole or OPNsense, you can take advantage of community-driven updates and improvements.
- Learning Opportunity: If you’re into tech, this project is a goldmine for learning about networking, firewalls, and Linux systems.
So whether you’re looking to save money, enhance security, or just flex your tech skills, a Raspberry Pi router firewall is worth considering.
Hardware Requirements
Before you start setting up your Raspberry Pi router firewall, you’ll need to gather a few essential pieces of hardware. Here’s what you’ll need:
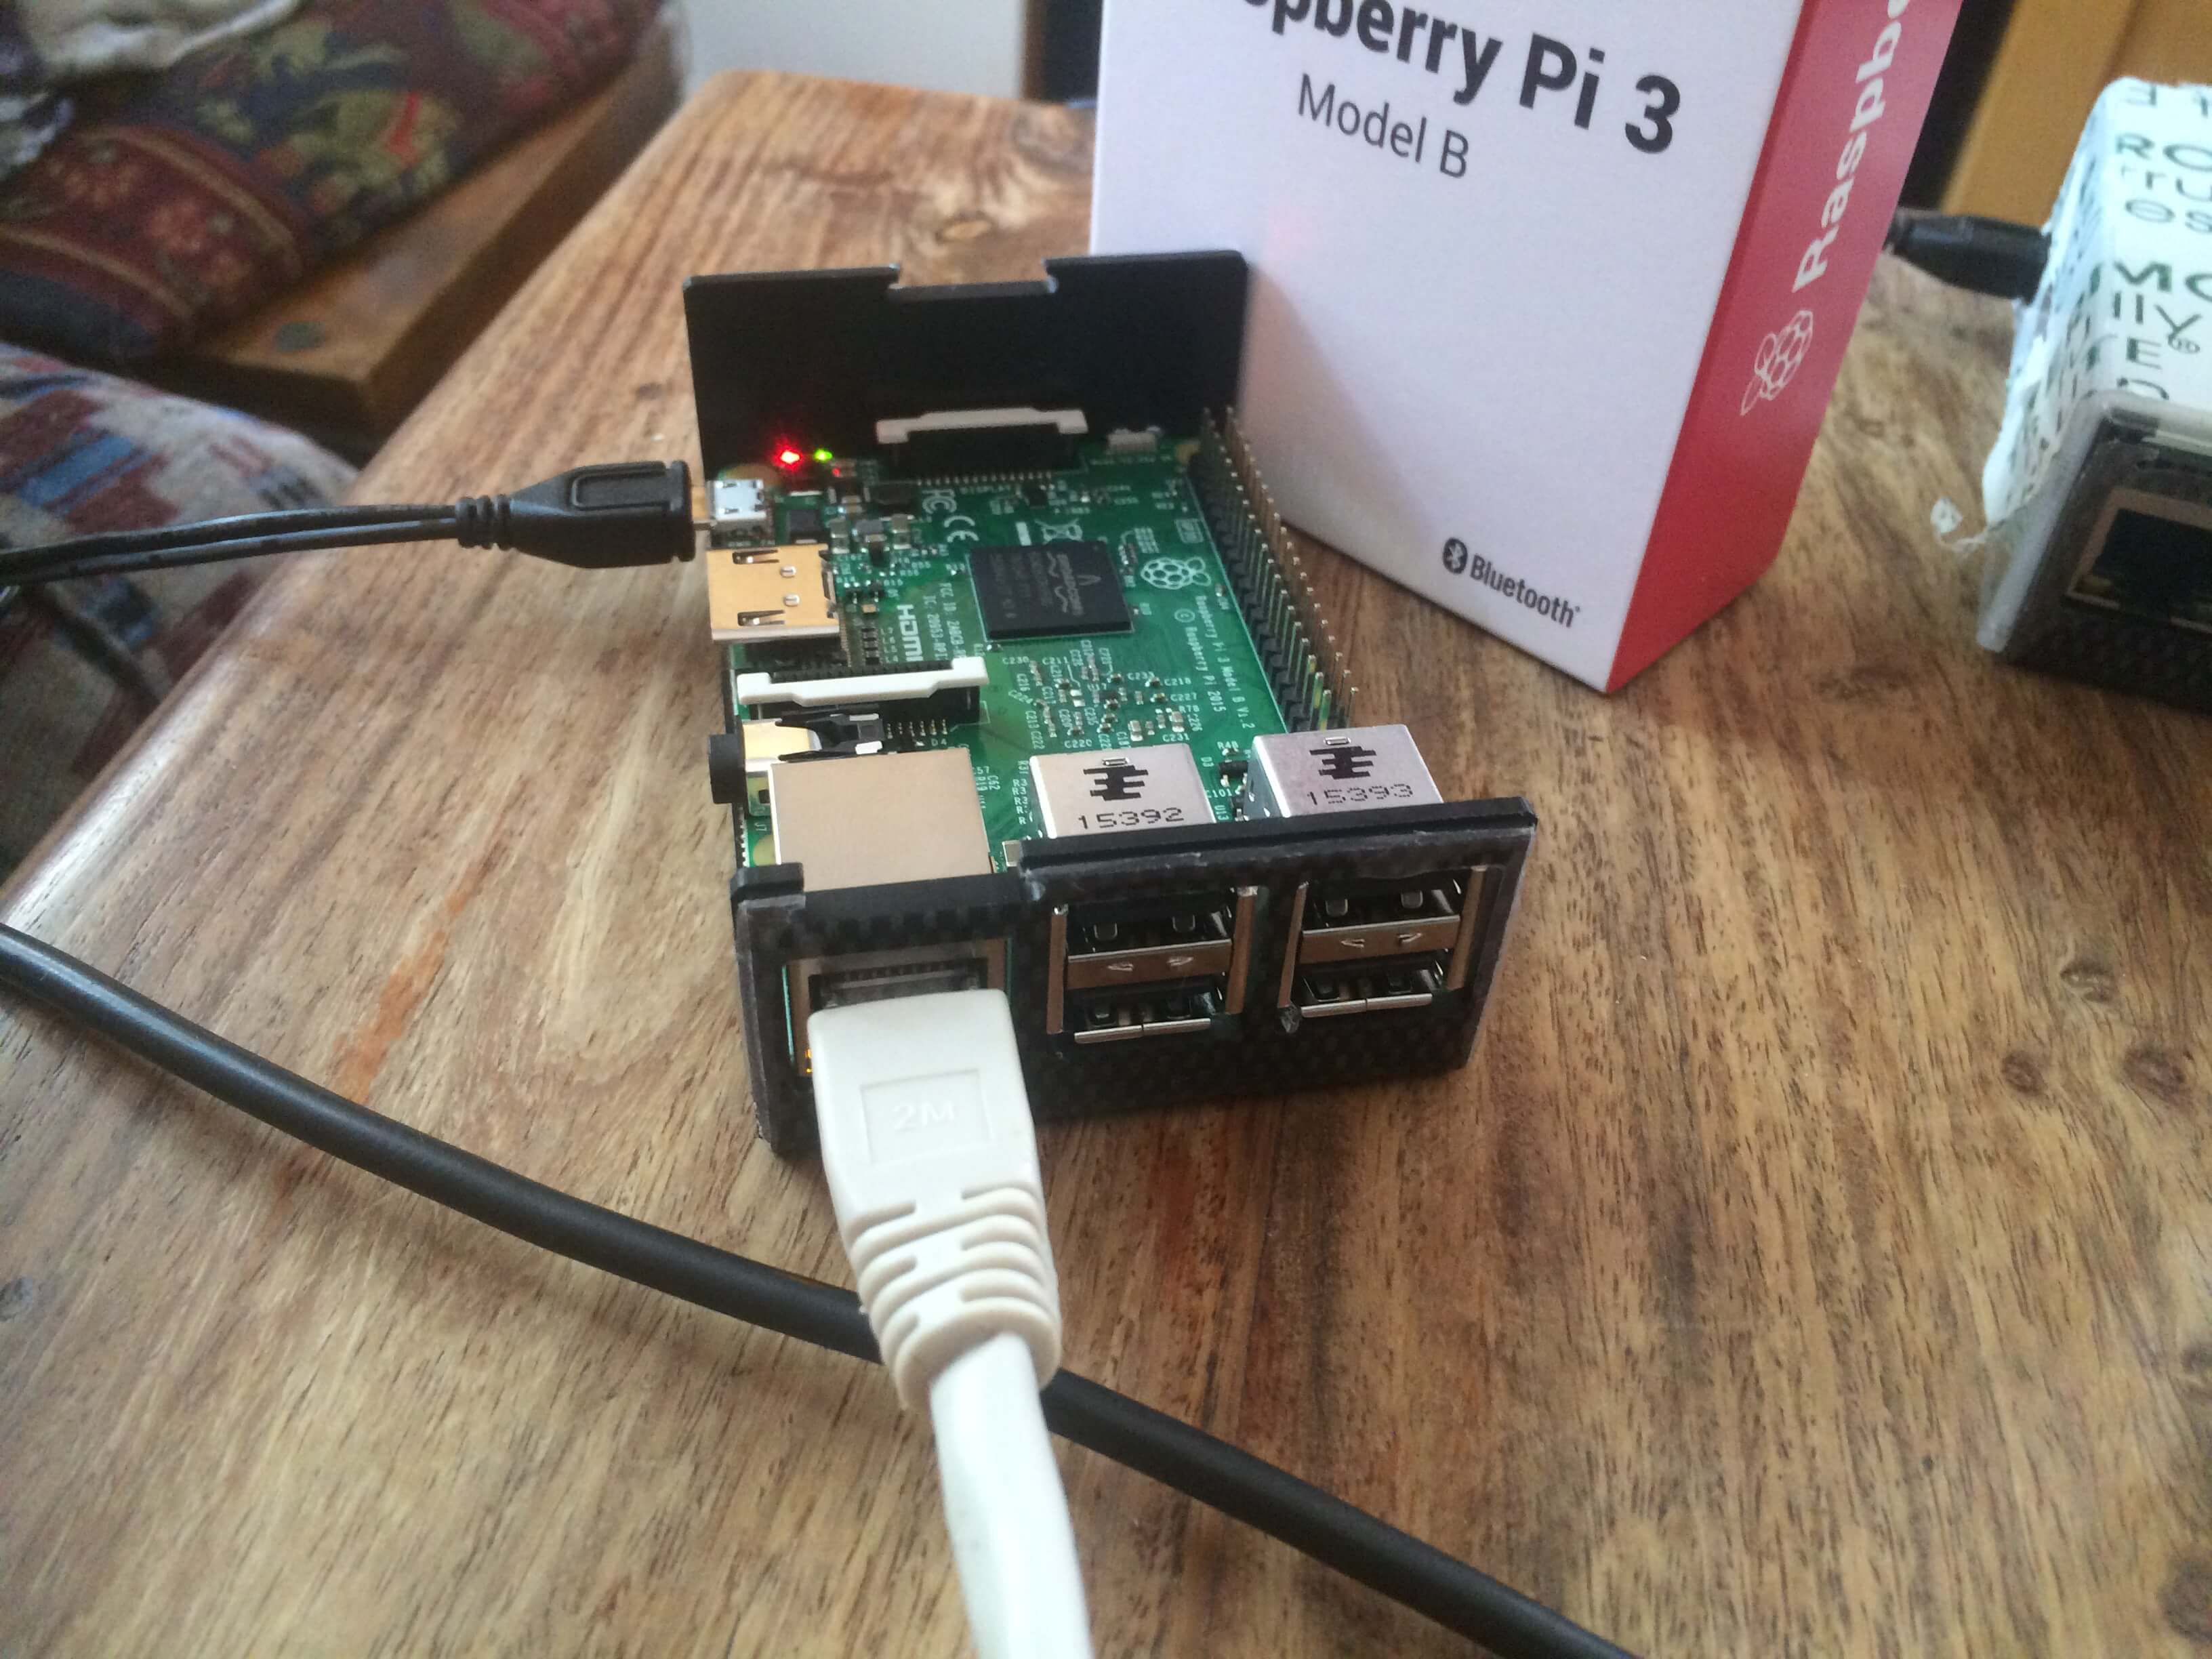
- Raspberry Pi (preferably a newer model like the Raspberry Pi 4)
- MicroSD card (16GB or higher)
- Ethernet cables
- Power adapter
- (Optional) USB Wi-Fi adapter for wireless connectivity
Pro tip: Make sure your Raspberry Pi has enough power to handle the workload. A good-quality power supply can prevent crashes and ensure smooth operation.
Choosing the Right Raspberry Pi
While older models like the Raspberry Pi 3 will work, I highly recommend going with the Raspberry Pi 4. Why? Because it offers better performance, more RAM, and faster networking capabilities. Trust me, your network will thank you later.
Software Setup and Installation
Alright, now that you’ve got your hardware ready, it’s time to talk software. There are several options for turning your Raspberry Pi into a router firewall, but two of the most popular choices are:
- Pi-hole: A network-wide ad blocker that doubles as a DNS server.
- OPNsense: A powerful open-source firewall and routing platform.
For this tutorial, we’ll focus on using OPNsense, as it provides a comprehensive solution for both routing and firewall needs.
Installing OPNsense on Raspberry Pi
Here’s a step-by-step guide to installing OPNsense on your Raspberry Pi:
- Download the OPNsense Raspberry Pi image from the official website.
- Use a tool like Balena Etcher to flash the image onto your microSD card.
- Insert the microSD card into your Raspberry Pi and power it on.
- Access the OPNsense web interface by connecting to your Raspberry Pi’s IP address.
Once you’ve completed these steps, you’ll be greeted with the OPNsense setup wizard, where you can configure your network settings.
Configuring Your Network
Configuring your network is one of the most crucial steps in setting up your Raspberry Pi router firewall. You’ll need to define your LAN and WAN interfaces, assign IP addresses, and set up routing rules.
Here’s a quick breakdown:
- LAN Interface: This is the interface that connects to your local network. Assign it a private IP address range, such as 192.168.1.1.
- WAN Interface: This is the interface that connects to the internet. Configure it to use your ISP’s provided settings.
Don’t forget to enable DHCP on your LAN interface so that devices on your network can automatically receive IP addresses.
Setting Up Static IPs
If you have devices that need a static IP address (like printers or servers), you can configure them in OPNsense’s DHCP settings. Just assign a specific IP to each device’s MAC address, and you’re good to go.
Setting Up the Firewall
Now we get to the heart of the matter—setting up your firewall rules. A firewall is like a bouncer at a club; it decides who gets in and who gets kicked out. With OPNsense, you can create custom rules to block unwanted traffic and protect your network from threats.
Here’s how to set up basic firewall rules:
- Create a rule to allow outgoing traffic from your LAN to the WAN.
- Create a rule to block incoming traffic from the WAN to your LAN, except for specific services like SSH or HTTP.
- Enable logging for your firewall rules to monitor traffic patterns.
Remember, the key to a good firewall setup is balance. You want to block malicious traffic without accidentally blocking legitimate connections.
Advanced Firewall Features
OPNsense offers a ton of advanced features, like intrusion detection, antivirus scanning, and quality of service (QoS) settings. These features can help you fine-tune your network’s performance and security. Take some time to explore them and see what works best for your setup.
Enhancing Security with DNS
One of the easiest ways to boost your network’s security is by configuring a secure DNS server. OPNsense lets you use DNS providers like Cloudflare or Quad9, which offer encrypted DNS and block malicious domains.
Here’s how to configure DNS in OPNsense:
- Go to the DNS Resolver settings in the web interface.
- Add your preferred DNS servers under the "General" tab.
- Enable DNSSEC to verify the authenticity of DNS responses.
With a secure DNS setup, you can rest easy knowing that your network is protected from DNS-based attacks.
Adding Wireless Connectivity
If you want to turn your Raspberry Pi router firewall into a full-fledged wireless access point, you’ll need a USB Wi-Fi adapter. Most modern adapters are compatible with OPNsense, so you shouldn’t have any trouble finding one that works.
Here’s how to set up wireless connectivity:
- Plug in your USB Wi-Fi adapter and reboot your Raspberry Pi.
- Go to the wireless settings in OPNsense and configure your SSID and password.
- Assign the wireless interface to your LAN network.
Voila! You now have a wireless router firewall powered by Raspberry Pi.
Monitoring and Maintenance
Once your Raspberry Pi router firewall is up and running, it’s important to keep an eye on its performance. OPNsense provides a wealth of monitoring tools, including traffic graphs, log viewers, and system health checks.
Here are a few tips for maintaining your setup:
- Regularly update your firmware to ensure you have the latest security patches.
- Review your firewall logs periodically to identify potential threats.
- Backup your configuration files so you can restore your settings if something goes wrong.
By staying proactive, you can ensure that your network remains secure and reliable.
Troubleshooting Common Issues
No matter how careful you are, issues can still arise. Here are some common problems you might encounter and how to fix them:
- No Internet Connectivity: Double-check your WAN settings and make sure your ISP’s credentials are correct.
- Slow Performance: Consider upgrading your Raspberry Pi model or using a faster microSD card.
- Device Not Connecting: Verify that your DHCP settings are correct and that your wireless adapter is functioning properly.
If you’re stuck, don’t hesitate to consult the OPNsense community forums or documentation for additional help.
Conclusion
And there you have it—a comprehensive guide to setting up a Raspberry Pi router firewall. Whether you’re a tech enthusiast or just someone looking to secure their home network, this project offers endless possibilities. By following the steps outlined in this tutorial, you can create a custom router firewall that meets your unique needs and keeps your data safe.
So what are you waiting for? Grab your Raspberry Pi, roll up your sleeves, and get started on building the ultimate network protector. And when you’re done, don’t forget to share your experience in the comments below. Who knows, you might inspire someone else to take the leap into the world of DIY networking!
- Streamline Your Movie Experience Movierulz 2025 Telugu Movie Download
- Unlock Your Entertainment A Deep Dive Into 7starhdin