Ever wondered how you can control your Raspberry Pi from anywhere in the world? Yeah, me too. Remote connect to Raspberry Pi is like giving your little device superpowers. Whether you're tinkering with home automation or managing servers, this skill is a game-changer. So, buckle up, because we're about to dive deep into the world of remote connections and make your Pi do some serious magic.
Let’s face it, Raspberry Pi is not just a tiny computer; it’s a gateway to endless possibilities. From running media centers to hosting websites, its versatility knows no bounds. But what happens when you're not physically near your Pi? That's where remote connect to Raspberry Pi comes in handy. Imagine being able to troubleshoot, update, or monitor your projects from your couch—or even another continent!
This guide is here to teach you everything you need to know about remote connections. We'll cover the basics, advanced techniques, troubleshooting tips, and even some cool tricks to make your life easier. So whether you're a beginner or an experienced Pi enthusiast, there's something here for everyone. Let's get started!
- Divine Glamour The Ultimate Guide To Diva Flawlessxxx
- Andrea Brillante Sex Scandal The Untold Story You Need To Know
Table of Contents
Introduction to Remote Connect to Raspberry Pi
Why Remote Connect to Raspberry Pi Matters
- Aditi Mistri Leak The Truth Behind The Viral Sensation
- Vegamovies Korean Drama Download In Hindi Your Ultimate Guide
Setting Up SSH on Your Raspberry Pi
Using VNC for Remote Connections
Networking Essentials for Remote Access
Securing Your Remote Connection
Advanced Techniques for Remote Connections
Introduction to Remote Connect to Raspberry Pi
Alright, let’s break it down. Remote connect to Raspberry Pi is all about accessing your Pi remotely, without needing to be physically present. This means you can interact with your Pi as if you're sitting right in front of it, but from anywhere with an internet connection. It’s like having a personal assistant that works for you no matter where you are.
The most common method for remote connections is using SSH (Secure Shell), which allows you to access the command line interface of your Pi securely. But there's more to it than just SSH. You can also use VNC (Virtual Network Computing) for graphical access, making it perfect for projects that require a full desktop experience.
Now, why would you want to do this? Well, imagine setting up a home server, automating your smart home devices, or even running a web application. Being able to manage these from anywhere is not just convenient; it’s essential for maintaining and scaling your projects. So, let’s explore how you can set this up step by step.
Why Remote Connect to Raspberry Pi Matters
Here's the deal: remote connect to Raspberry Pi isn’t just a fancy feature—it’s a necessity. Whether you're a hobbyist or a professional, having remote access to your Pi opens up a world of opportunities. Here are a few reasons why it matters:
- Convenience: No more running back and forth to your Pi. Manage everything from your laptop, tablet, or even your phone.
- Efficiency: Save time by automating tasks and monitoring your projects remotely.
- Flexibility: Access your Pi from anywhere, whether you're at home, at work, or on vacation.
- Scalability: As your projects grow, remote access ensures you can manage them without being physically present.
Remote connections are especially useful for projects like home automation, media servers, or even small-scale cloud computing. With the right setup, you can turn your Raspberry Pi into a powerful tool that works for you, no matter where you are.
When Should You Use Remote Access?
Not every project requires remote access, but there are certain scenarios where it becomes indispensable:
- When your Pi is located in a hard-to-reach place, like a server room or a remote location.
- If you need to monitor or manage multiple Pis simultaneously.
- For troubleshooting or updating your projects without needing physical access.
So, whether you're a DIY enthusiast or a tech professional, remote connect to Raspberry Pi is a skill worth mastering.
Understanding SSH Basics
Let’s talk about SSH, the backbone of remote connections. SSH stands for Secure Shell, and it’s a protocol that allows you to securely connect to another computer over a network. In our case, we’ll be using it to connect to our Raspberry Pi.
Here’s how it works: SSH creates a secure, encrypted connection between your computer and the Pi. This means all your commands and data are protected from prying eyes. It’s like having a private tunnel that only you can access.
SSH is not just about security; it’s also incredibly versatile. You can use it to transfer files, run scripts, and even manage services—all from the comfort of your own device.
Key Features of SSH
Before we dive into the setup, let’s take a look at some key features of SSH:
- Encryption: All data transmitted over SSH is encrypted, ensuring your connection is secure.
- Authentication: SSH uses public and private keys to authenticate users, making it difficult for unauthorized access.
- Portability: SSH works on almost any platform, including Windows, macOS, and Linux.
With SSH, you can rest assured that your remote connection is both secure and reliable. Now, let’s move on to setting it up on your Raspberry Pi.
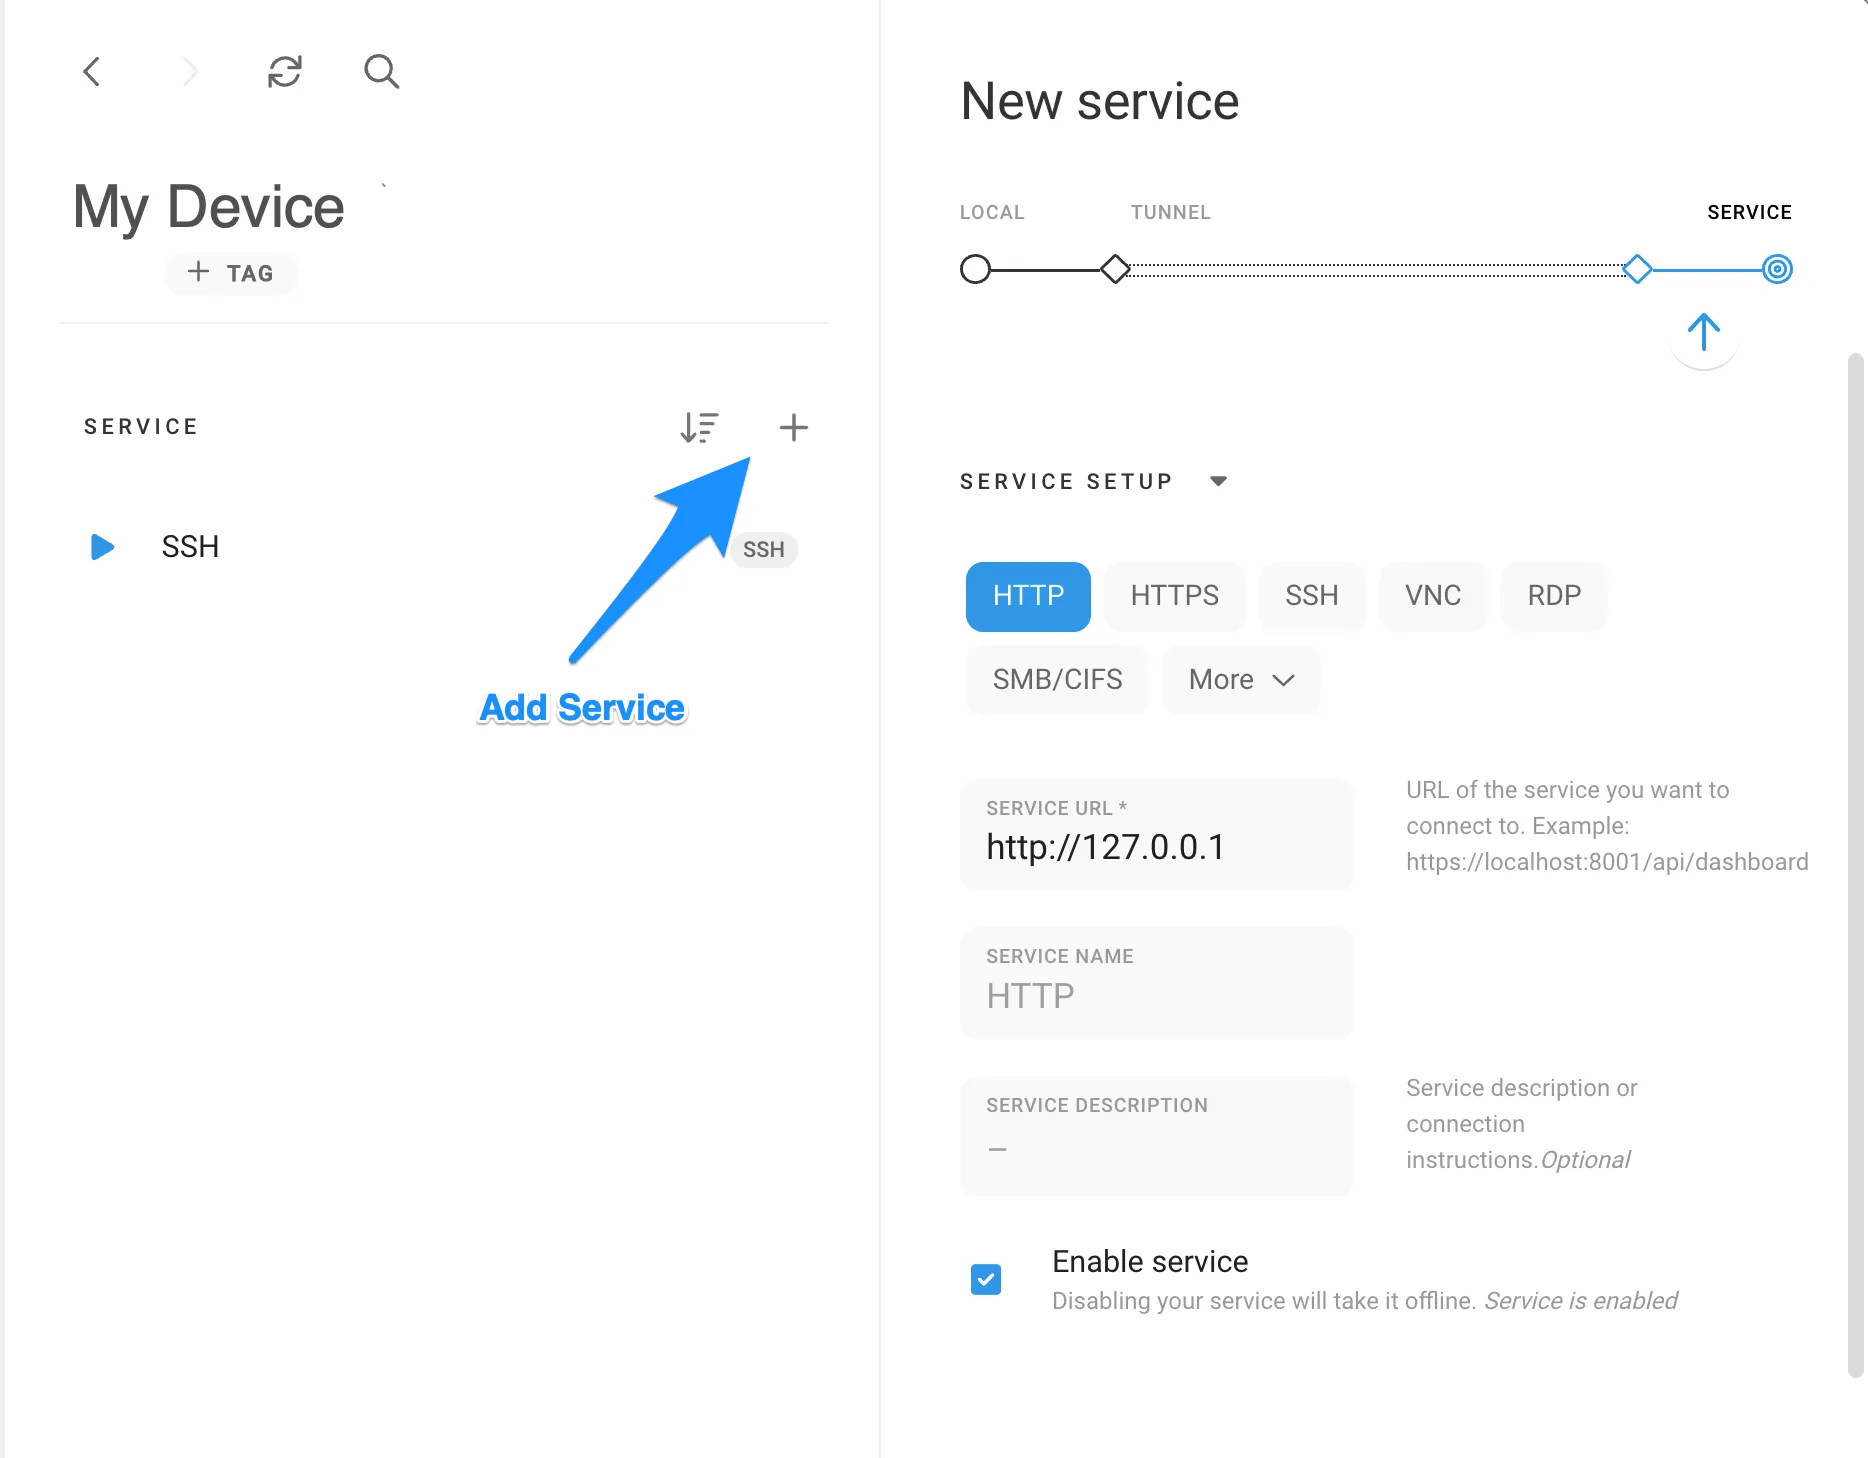
Setting Up SSH on Your Raspberry Pi
Alright, let’s get our hands dirty. Setting up SSH on your Raspberry Pi is easier than you think. Here’s a step-by-step guide to get you started:
First things first, you’ll need to enable SSH on your Pi. This can be done in two ways: through the Raspberry Pi Configuration tool or by modifying the configuration files manually.
Method 1: Using Raspberry Pi Configuration
If you’re using the graphical interface, follow these steps:
- Open the Raspberry Pi Configuration tool from the Preferences menu.
- Navigate to the Interfaces tab.
- Select SSH and choose "Enable."
- Reboot your Pi to apply the changes.
Method 2: Manually Editing the Configuration
If you prefer the command line, here’s what you need to do:
- Open the terminal on your Pi.
- Run the command
sudo raspi-config. - Select "Interfacing Options" and enable SSH.
- Reboot your Pi to apply the changes.
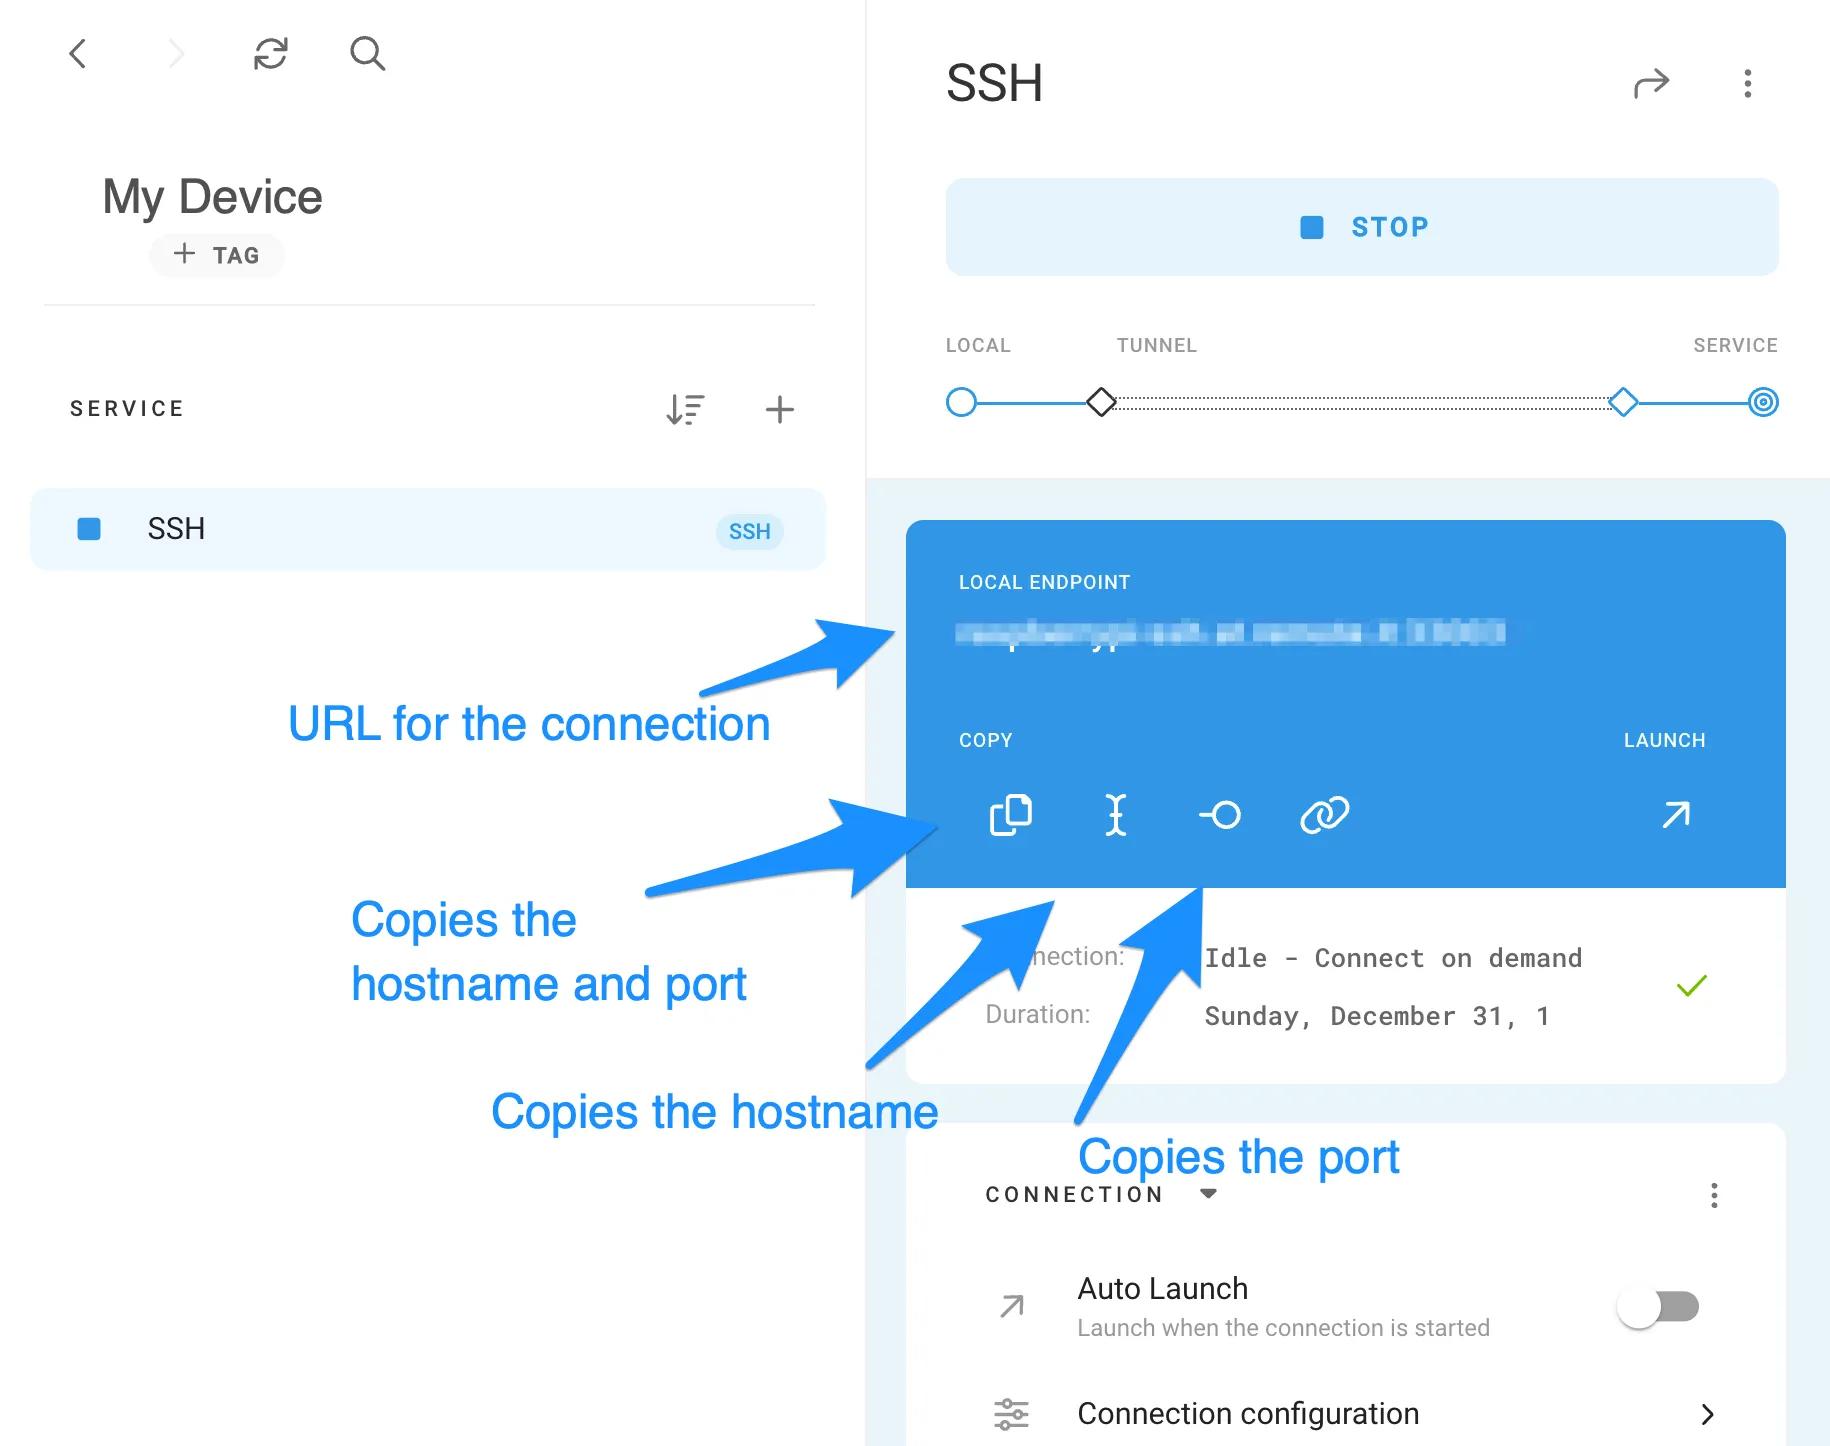
Once SSH is enabled, you’re ready to connect remotely. But wait, there’s more! To connect from another device, you’ll need to know the IP address of your Pi. You can find this by running the command hostname -I in the terminal.
Using VNC for Remote Connections
While SSH is great for command-line access, what if you need a full graphical interface? That’s where VNC comes in. VNC (Virtual Network Computing) allows you to remotely control the desktop environment of your Pi, making it perfect for projects that require a GUI.
Setting up VNC is similar to setting up SSH. You can enable it through the Raspberry Pi Configuration tool or by using the command line. Once enabled, you’ll need to install a VNC viewer on your client device to connect.
Steps to Set Up VNC
Here’s how you can set up VNC on your Raspberry Pi:
- Enable VNC through the Raspberry Pi Configuration tool or by running
sudo raspi-config. - Install the VNC Viewer app on your client device.
- Connect to your Pi using its IP address.
With VNC, you can interact with your Pi just as if you were sitting right in front of it. It’s perfect for projects that require visual feedback or interaction.
Networking Essentials for Remote Access
Now that we’ve covered the basics of SSH and VNC, let’s talk about networking. A solid network setup is crucial for reliable remote connections. Here are a few tips to ensure your Pi stays connected:
- Static IP Address: Assign a static IP to your Pi to avoid connection issues when the network changes.
- Port Forwarding: If you want to access your Pi from outside your local network, set up port forwarding on your router.
- Dynamic DNS: Use a dynamic DNS service to access your Pi using a domain name instead of an IP address.
By optimizing your network settings, you can ensure a stable and secure connection to your Pi from anywhere in the world.
Securing Your Remote Connection
Security should always be a top priority when it comes to remote connections. Here are a few tips to keep your Pi safe:
- Use Strong Passwords: Avoid using simple or default passwords for your Pi.
- Enable Two-Factor Authentication: Add an extra layer of security by enabling 2FA for SSH.
- Disable Root Login: Prevent unauthorized access by disabling root login for SSH.
By following these best practices, you can protect your Pi from potential threats and ensure your remote connections remain secure.
Troubleshooting Common Issues
Even with the best setup, issues can arise. Here are a few common problems and how to fix them:
- Connection Refused: Check if SSH or VNC is enabled and ensure the correct IP address is being used.
- Authentication Failed: Double-check your login credentials and ensure SSH keys are properly configured.
- Network Problems: Verify your network settings and ensure port forwarding is correctly configured.
With a bit of troubleshooting, you can overcome most issues and get your remote connection up and running in no time.
Advanced Techniques for Remote Connections
Ready to take your remote connect to Raspberry Pi skills to the next level? Here are a few advanced techniques to explore:
- Tunneling: Use SSH tunnels to securely access services running on your Pi.
- Automated Scripts: Set up scripts to automate tasks and manage your Pi remotely.
- Cloud Integration: Connect your Pi to cloud services for enhanced functionality and scalability.
These techniques can help you streamline your workflows and make the most out of your Raspberry Pi.
Pro Tips and Tricks
Here are a few pro tips to make your remote connect to Raspberry Pi experience even better:
- Use SSH Keys: Authenticate using SSH keys instead of passwords for added security.
- Monitor Logs: Keep an eye on your system logs to detect and prevent potential issues.
- Backup Regularly: Ensure your data is safe by backing up your Pi regularly.
By following these tips, you can optimize your setup and avoid common pitfalls.
Conclusion and Next Steps
And there you have it—a comprehensive guide to remote connect to Raspberry Pi. From SSH to VNC, networking essentials to advanced techniques, we’ve covered everything you need to know to master remote connections.
Remember, the key to success is practice. Experiment with different methods, try out new tools, and don’t be afraid to make mistakes. The more you work with your Pi, the more confident you’ll become in managing it remotely.
So, what are you waiting for? Go ahead and start exploring the world of remote connections. And don’t forget to share your experiences in the comments below. Who knows, you might just inspire someone else to take the leap!
- Bolly4u Fix Your Ultimate Guide To Bollywood Movie Streaming
- Hdhub4utv Your Ultimate Destination For Highquality Entertainment